The Watchers of the Sky:
Realities of Tornado Chasing
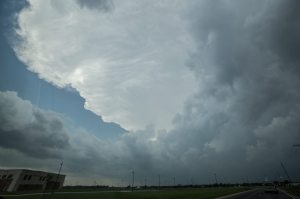
A back-sheared anvil of a developing supercell thunderstorm just outside of Wichita, KS. Photo credit: Trevor White.
During this past May (2013), I was blessed with the incredible opportunity to fulfill a dream of chasing tornadic storms in the Great Plains. As a meteorology student at Virginia Tech, I had been waiting several years to embark on this journey. The meteorology program at Virginia Tech offers a 3 credit Great Plains field course geared towards enhancing the student’s real time forecasting and navigation skills in unfamiliar environments. Over 5 days of chasing, we attempted to, and successfully intercepted several supercell thunderstorms. These storms included rotating updrafts and wall clouds, aqua green colorations, incredible shelf clouds and associated gust fronts, intense lightning strikes, and hail cores dropping hail the size of grapefruits. Storms such as these are un-explainable. You truly have to experience them with your own eyes to grasp their shear intensity and the fear they create. I firmly guarantee that if you do ever witness one of these green monsters, you’ll be humbled by the complexity of the atmosphere and its power.
I think the perception of chasing tornadoes has been over-skewed by reality TV shows. Most people don’t understand how difficult it truly is to witness a tornado. We perfectly positioned ourselves on several rotating supercells and did not once see a tornado stretch to the ground. The genesis of a Tornado is the last frontier of meteorology. Tornadoes simply occur too infrequently for needed research to be conducted. But, I can tell you this, while the forecast technology we have in place right now is nothing short of incredible, bright minds will need to continue to evolve the gear that is used with a goal of understanding everything about these destructive forces of nature. In the end, the main objective is to increase warning time. Through this article, I hope to give the reader an insider’s look at the realities of chasing storms.
Getting there…

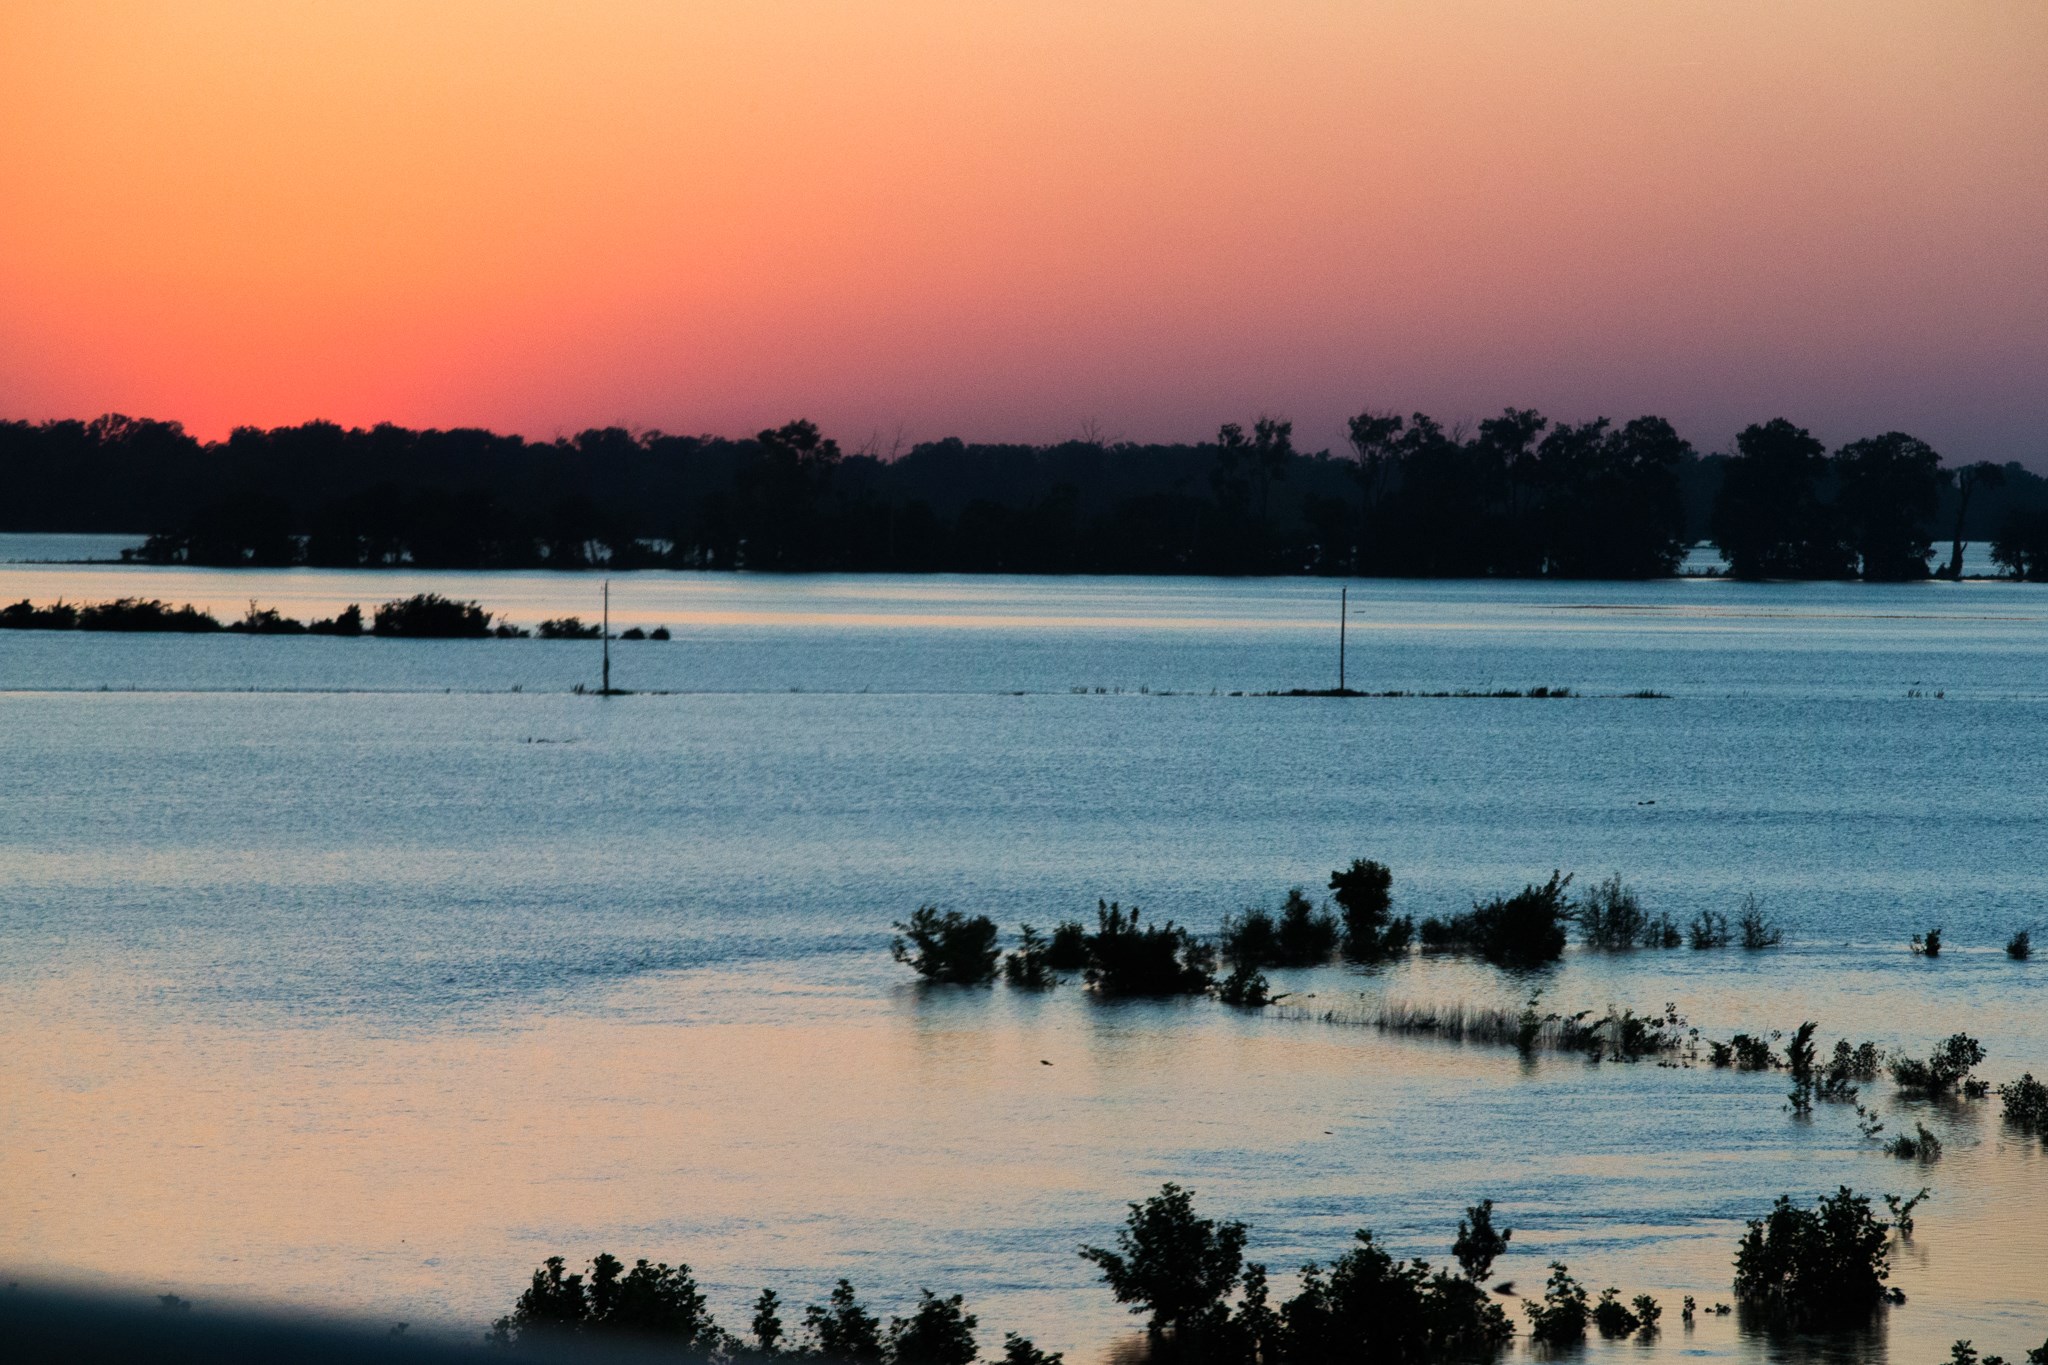
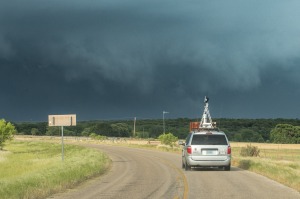
Sun setting over the Mississippi River. We drove from Blacksburg, VA to slightly west of Arkansas City, Arkansas to set up a Day 2 intercept in Texas. The next day, we drove 7 hours through Oklahoma down to Texas and intercepted a supercell near Decatur, Texas. Photo credit: Trevor White.
To be completely honest, if you are not passionate about storms, this trip is not for you. It is the definition of a “road trip”. Ninety-five percent of chasing is driving, with a goal to either position yourself for intercepts either that day or for the following day. Over a 9 day period, our team traveled over 5,000 miles, traveling through 11 states while spending over 90 hours inside of a van. If you don’t like storms, don’t belong on this trip. Granted, we did travel from Blacksburg, Virginia to get there, but even local Great Plains chasers have to sometimes travel through several states just to position themselves for potential storms on the following day. Even on a chase day you may be traveling 4 plus hours to try and catch storms firing off in another state. While chasing a particular storm, you could be following it for over 6 hours until the sun goes down. One also has to take in account the amount of travel time required to dodge incoming hail cores.
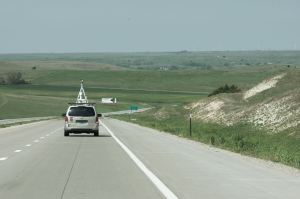
We traveled through western Kansas towards North Platts, Nebraska. The group anticipated storm initiation in South Dakota and Kansas the following day. Kansas ended up winning out, but we had to hedge our bets. This shows how sometimes you have to travel a very long distance to position yourself for future days. It also illustrates the uncertainty of where you will end up, which may not be clear until the day of the chase. Photo credit: Trevor White.

Maneuvering around hail cores in Lawton, Oklahoma. Photo credit: Trevor White.
The Chase Day…
For those adrenalin rush junkies out there, a moderate risk chase day is where it is at. Those 4 plus hour drives to position yourself for storm intercept go by in an instant. In order to decipher the best position for storm intercept, forecasters are looking at updated model output, reading local weather office’s Hazardous Weather Outlooks (HWO) and Area Forecast Discussions (AFD), while choosing navigation routes. When you are in chase mode, it feels like a time warp. You start losing any recollection of the time of day, the day it is, the county you are in, and the name of the last town through which you passed. You start thinking about days of the week in terms of severe weather outlooks (Day 1 outlook, Day 2 outlook, Day 3 outlook, etc.) It truly is a wild feeling.

Virginia Tech instructor Dave Carroll teaches students about base reflectivity radar scans as they wait for storm initiation. Photo credit: Trevor White.
The storm chase team uses a plethora of forecasting tools when discerning target areas. As a storm chaser, observation of three key atmospheric ingredients is needed for severe thunderstorms: instability or Convective Available Potential Energy (CAPE), moisture (high dew points), and a source of lift (fronts, dry lines, vorticity waves). After pinpointing an area with these three ingredients, an even smaller scale for tornadic ingredients is then studied. For long-lived supercells capable of producing a tornado, one of the key ingredients needed is wind shear. We look for areas with strong upper and lower level wind shear and observe the curvature with height in the wind field, which is crucial for rotating storms. We also look for areas of high, low level moisture and low level cloud bases using tools such as Theta E and Liquid Condensation Levels. The lower the cloud base and the more moisture abundant near the surface, the more likely a funnel cloud will stretch to the surface.

Example of model output used while discerning greatest areas at risk for tornadic storms. This is a spatial plot of Convective Available Potential Energy (CAPE) in the atmosphere. Areas of high CAPE values have more fuel in place for explosive storm initiation. Photo credit: Nick Luchetti.
Once an area with the highest tornado potential is targeted, the drive begins. When picking a final destination, another strong consideration is the terrain. Some areas are not suited well for chasing tornadoes. For instance, we try to stay away from areas that lack convenient road networks allowing ease of entrance and exit. We also avoid areas with over-abundant tree cover. Additionally, metropolitan cities are avoided for several reasons. First, it can be extremely dangerous trying to outrun storms in highly congested areas. Second, our chase team adds three more vehicles getting in the way of people trying to flee the storm. This non-city rule for chasing is not followed by a lot of chase teams, but is strict rule observed by the Hokie Storm Chasers.
Once positioned to where it is believed storm initiation will occur, we patiently wait. Visible Satellite Imagery is then used to detect cumulus clouds bubbling up. Normally these clouds can be seen with the naked eye in the field; Visible Satellite provides further verification. Once cumulus clouds start to initiate, the chase team waits for cells to show up on base reflectivity radar. As a cell appears on radar, all output from forecast models is dismissed. The only thing in focus at this point is positioning ourselves around the most discrete cell.
The chase is on….

Example of Visible Satellite imagery. In this image, a massive plume in Oklahoma appears. This represents the May 31, 2013 Oklahoma City supercell which produced an EF-4 tornado. To the south of the main plume, a smaller cell is developing. To the southwest of the main plume, a cumulus cloud field is developing. Photo credit: National Weather Service/Storm Prediction Center.
The Intercept
Positioning within the correct spot to view a tornado is way more difficult than one may think. The part of a supercell in which a storm chase team attempts to position is called the “inflow notch.” This is the area of a rotating storm where the mesocyclone is located. It is called the inflow notch because air gets sucked directly into this area of the storm as it cycles. On radar, this area can be clearly seen when a “hook” begins to develop. The mesocyclone whirls precipitation around the back side of the rotation, which can be clearly seen on radar. To see a tornado, the team needs to be in perfect position with the inflow notch in view. The precipitation gradient is steep here, hence visibility is very high. Most storms move northeast, thus we try to position ourselves to the east and north of the storm. Based on storm motion and speed, we then decide if our current position is sufficient to get a glimpse of the inflow notch. If there is a need to move further east, west, north, or south, the team finds those routes and re-positions. Visibility of the inflow notch is key to seeing a tornado.
But as we found out, positioning yourself at the inflow notch does not mean you’ll witness a tornado.

This was a tornado warned cell that the Hokie Storm Chase Team was chasing near Hays, Kansas. Our GPS positioning is shown with the white circle and dot near the middle top of the screen. We were monitoring storm motion and speed to position ourselves on the inflow notch. As you can see, the precipitation begins to “hook” at the bottom of the cell, indicating the location of the mesocyclone or rotating part of the cell. Photo credit: Nick Luchetti.
The Mesocylone
Once our team intercepted the rotating part of the storm, we waited to see if it would drop down as a tornado or not. As mentioned earlier, these storms cycle several times. They essentially inhale and exhale. You can feel the wind whipping at your back as it is sucked directly into the miniature area of low pressure. As it cycles, eventually what is known as the rear flank downdraft whips around the backside of the mesocyclone. You can clearly feel the rear flank downdraft as the winds change direction. The feeling comes from either being hit with noticeably warmer air or noticeably cooler air. Warm rear flank downdrafts are believed to be more conducive to tornado genesis. The supercell will make this inflow/rear flank downdraft cycle several times throughout its life. Through this cycle, the cell may stretch into a tornado all the way to the surface possibly once or twice. This unpredictable nature of downdraft cycles is what makes researching tornadoes so difficult. Simultaneously, storm chases have to keep up with the storm which can become difficult if travelling on limited access road networks. Thus, in order to conduct field research on tornadoes, luck comes into play in viewing a downdraft cycle that drops into a tornado. Beyond the need for luck, not all mesocyclones are visible as some supercells can be completely rain wrapped (high precipitation supercells), contributing to research difficulties and creating incredibly dangerous situations.

Supercell intercept near Hays, Kansas. The rain-free base and rotating updraft of the storm can be clearly seen. The wall cloud is seen lowering extremely close to the ground. Dirt and debris are being whipped up at the surface. At the time of intercept, our team theorized that this may caused by the rear flank downdraft winds. However, another theory is that dirt and debris could have been flying up from a tornado on the ground. We aren’t entirely sure. Photo credit: Trevor White
The rotating mesocylone is visible in the part of the storm known as the rain-free base. Here, a lowering/rotating cloud base, known as a wall cloud, can form. If a tornado is going to drop it will be from this lowered cloud base.

Wall cloud nears the road. The rear flank downdraft is wrapping around the backside of the cell (white notch on the left side of the photo). Photo credit: Trevor White.
Destructive, yet beautiful….
As I alluded to in the opening, pictures do not do justice to these supercells. If I had to explain experiencing these supercells, it would sound a little like this:
Supercell intercept near Hays, Kansas (photo above)….
A massive, aqua green, destructive monster covers the entire sky. It legitimately looks like either the world is ending or an alien invasion is occurring. I look towards the rain free base. The glowing Kansas horizon shines through as the beautiful wall cloud lowers over a road leading to nowhere. A gentle rain shaft forms to the left of the storm. Chills begin to run down my spine as I stand their watching in awe. To my right a scary, destructive machine wreaks havoc over those underneath it, but directly head of me I see the most beautiful, clear sight these eyes have ever seen. It is hard to explain, but it was the most “clean” scene I’ve ever witnessed. An image I’ll never forget.
The feelings associated with the storm are incredible as well. I feel the rush of air at my back, while thunder shakes down my soul. The craziest lightning flashes one can image enter my peripherals. All of a sudden the wind ceases as the storm waits to exhale. All I hear is silence, followed by the quiet chirping of birds. I was immersed in the most beautiful experience of my life. I am quickly sobered by the tornado sirens screaming in the distance, as the storm progresses over their town.

An aqua green coloration supercell. Photo credit: Trevor White.

Mean looking wall cloud outside of Wichita, Kansas. Photo credit: Trevor White.
Chasing a wall cloud near Decatur, Texas. Photo credit: Trevor White
Chasing Safely and Mixed Emotions….
The ethics of storm chasing has been a popular topic in the news with the recent deaths of scientists Tim Samaras, Paul Samaras, and Carl Young. Unfortunately, the anti-chasing commentary has come out. I want to make clear that there is such a thing as safe chasing. It’s the people who attempt to shoot the best videos and photos that give chasing a bad name. These are the same people who “hail core punch” (i.e., intentionally driving through hail cores in order to position yourself in the inflow notch quicker), who drive double the speed limit in residential areas to outrun a storm, and who chase in crowded cities. Unfortunately, these types of chasers exist, however not every chaser in the field chases so chaotically. In fact, Tim Samaras was one of the safest chasers out there. He was a pioneer in tornado and lightning research, and an incredible loss to the meteorology field. His death shows that even the safest chasers can’t necessarily discern how the atmosphere will unfold. Placing yourself in this extreme environment is always a risk. As our instructor Dave Carroll says at the beginning of each storm chase, “It’s a two-way trip”. We chase in the safest way possible. We always have an escape route, we never hail core punch, and we use HAM radios to communicate between vans. It is a team effort and every member has to be on their A-game. We do everything possible to chase in the safest way, but no matter, there it is always risk.
As a chaser, I sometimes feel torn. In one way, I feel there is nothing wrong with attempting to chase and admire these beautiful structures. On the other hand, it’s hard to take joy in watching these incredible structures when you know people are suffering a short distance away. This was the case when our team was chasing a supercell south of Moore, Oklahoma. Ultimately, the cell to our north and resulting tornado destroyed the town. Two hours earlier, we had traveled through Moore and even talked to a local on HAM radio who shared his survival story of the EF-5 tornado that struck the town in 1999. Shortly after beginning our chase south of Moore, we started hearing the reports of the town being struck. It was at this point, that I completely sobered up. Up to this point, I was amped up over these supercell storms. My feelings changed on that day.
I started feeling that our presence was scaring people. We rolled up to a gas station and people came flying up to us asking for help. I have never seen that much fear in someone’s eyes. One woman was on the phone with her husband in a town which was about to be hit by a mesocyclone. I could only show her the radar on my phone and tell her husband to take cover. Then people were coming up to me asking me, “What about this town? And this road? My house is on this street.” I felt guilty, I have this incredible wealth of weather knowledge and related technology, but I just didn’t know the geography of these areas well enough to help. I did my best to show them the motion of the storm, and that’s really all I could do.
As we dodged hail cores, we would drive by people just hanging out in their front yards. I wanted to scream to them about what is coming their way, but it is impossible to warn everybody. Again, I feel guilty. I have technology and knowledge that 99% of the population just doesn’t have. It makes me wonder if maybe we should make sure every resident has radar capability. But, is it really that simple? If they have radar, are they really going to monitor it like we do? The biggest problem is the human response. How can we get people to react quicker to warnings? How can we get people to pay attention to the weather more? The problem is more than just a lack of warning time.

Instructor Dave Carroll and students look at model output to discern their next move. Photo credit: Trevor White
Watchers of the sky…
While we are out in the field, we try to remember that when destruction occurs that, it would of happened whether we were there or not. The Hokie Storm Chasers aren’t out chasing storms for personal gain. Yes, we want to see these incredible storms, but let’s be honest, we are ridiculous weather geeks. But we are out there to become educated on these forces of nature and to discover more about tornado genesis. We hope to spark the minds of young meteorologists to continue studying weather phenomenon and hopefully help develop better forecasting tools to give more advanced warning for these destructive beasts.
Every single one of our students is Skywarn Spotter certified. We have all taken classes on spotting storms and have the knowledge to properly describe what we are seeing to the National Weather Service. We do this while out in the Great Plains and while at home in Blacksburg, Virginia.
Whenever I was experiencing these torn feelings, I just reminded myself that I am a trained spotter. Authorities respect you, the public respects you, and the National Weather Service needs you.
Technological advancements will always try and take away the need for chasers in the field. But, the need for skywarn spotters will never cease because of the unpredictable nature of the storms. We are trained storm structure spotters needed to verify tornado genesis and aide in warning the public.
We are the eyes on the storm, the watchers of the sky.
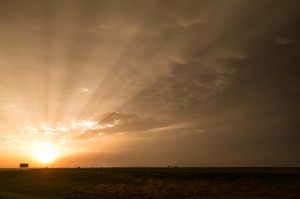
A mammatus field covers the sky as the sun sets near Hays, Kansas. Photo credit: Trevor White.

Observing the anvil of a supercell in Kansas. Credit: Trevor White

The whale’s mouth. The underside of a shelf cloud which rolled over top of us. You can see the hail core beyond the farm. Credit: Trevor White

Lowering wall cloud in Oklohoma. You can see “scud” being sucked into the intensifying rotation. Credit: Trevor White

Myself measuring wind gusts on a farm in Kansas. Credit: Trevor White

Incredible mammatas field in Kansas. Credit: Trevor White

Instructor Dave Carroll teaches students about the structures they are witnessing in Hays, Kansas. Credit: Trevor White

Another image of the rear flank downdraft on this supercell. Credit: Trevor White

Close up shot of the ridiculously low hanging wall cloud on the supercell near Hays, Kansas. Our instructor Dave Carroll who has intercepted 100 plus tornadoes in his life said that if a tornado had dropped at this location it would have been “the intercept of a lifetime”. Credit: Trevor White

Another shot of the mammatas field and accompanying rainbow. Credit: Trevor White

Outrunning a shelf cloud in southeast Texas. This chase day started south of the Red River, and ended up 40 miles north of Houston, Texas. Credit: Trevor White

Same storm as above, with an even more defined shelf cloud shot. Credit: Trevor White
Nick Luchetti
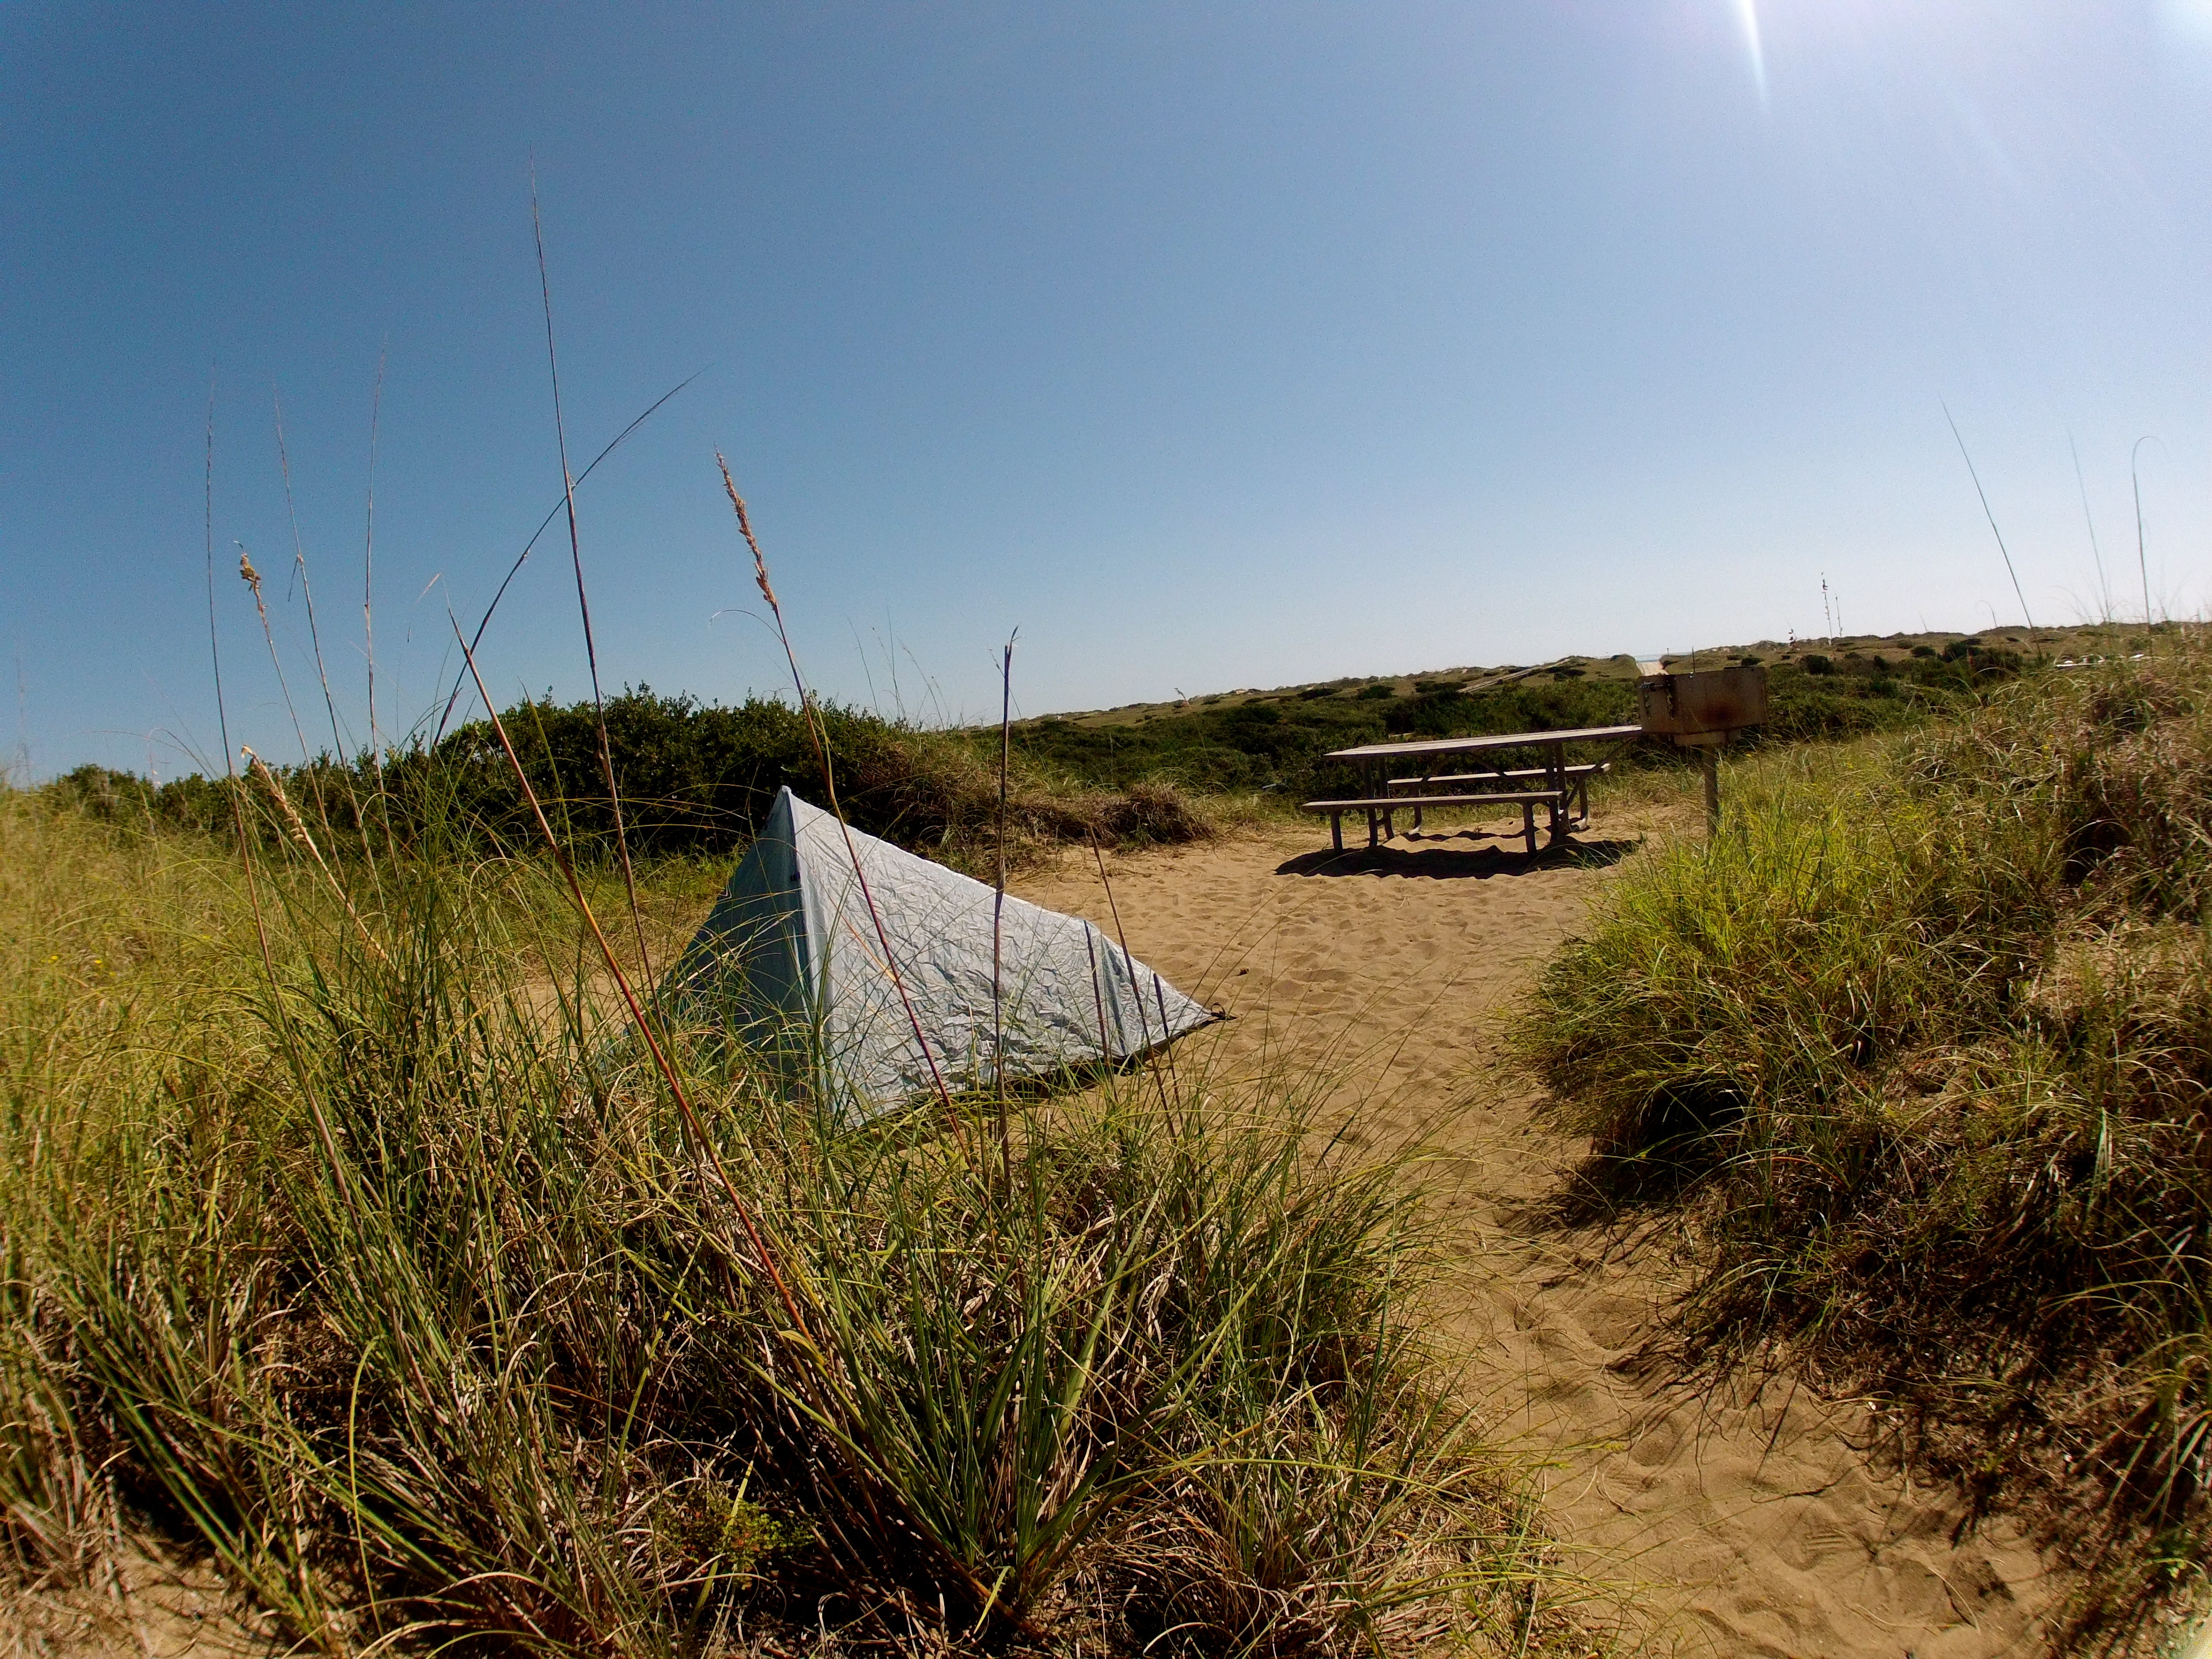
 From Carver’s Gap parking lot, one can take the AT either north or south. I headed northbound in order to walk over the beautiful bald, grassy knobs that the range provides. My goal was to hit all of the peaks including Hump mountain which was about 9 miles away. Initially my plan was to summit Hump Mountain and then backtrack to Bradley Gap and camp in the woods off the trail.
  I was weary about afternoon thunderstorms so I decided I would reach the AT shelters and decided whether or not to continue on for the day or camp there and push for Hump Mountain the next day.
 Before reaching Hump Mountain, hikers are treated to Little Hump Mountain, a slightly smaller, yet just as spectacular grassy knob filled with 360 views and not a hint of humanity in sight. I was absolutely blown away by the shear beauty of this 5,000 foot grassy hill. The path up to it was like something out of the Lord of the Rings. So gentle, so lovely, just plain amazing.